Easy Watercolor Flower Tutorial
In this easy watercolor flower tutorial, I’ll walk you through my step-by-step process for painting a watercolor flower. Florals are an evergreen trend, meaning they never go out of style! Whether you want to sell your art online or simply want to share your art with family and friends, learning how to paint watercolor flowers is key. Everyone loves flowers, so this is a fantastic motif to learn whether you’re a watercolor beginner or an experienced artist looking to bulk up your surface design portfolio.
This tutorial will show the process for painting a watercolor sunflower, but the techniques you’ll learn can be applied no matter what kind of flower you want to paint! For example, gerbera daisies have a similar shape to sunflowers, so feel free to follow along and paint a sunflower or pick a different flower to paint. Here are a few reference images you can use as you’re painting!
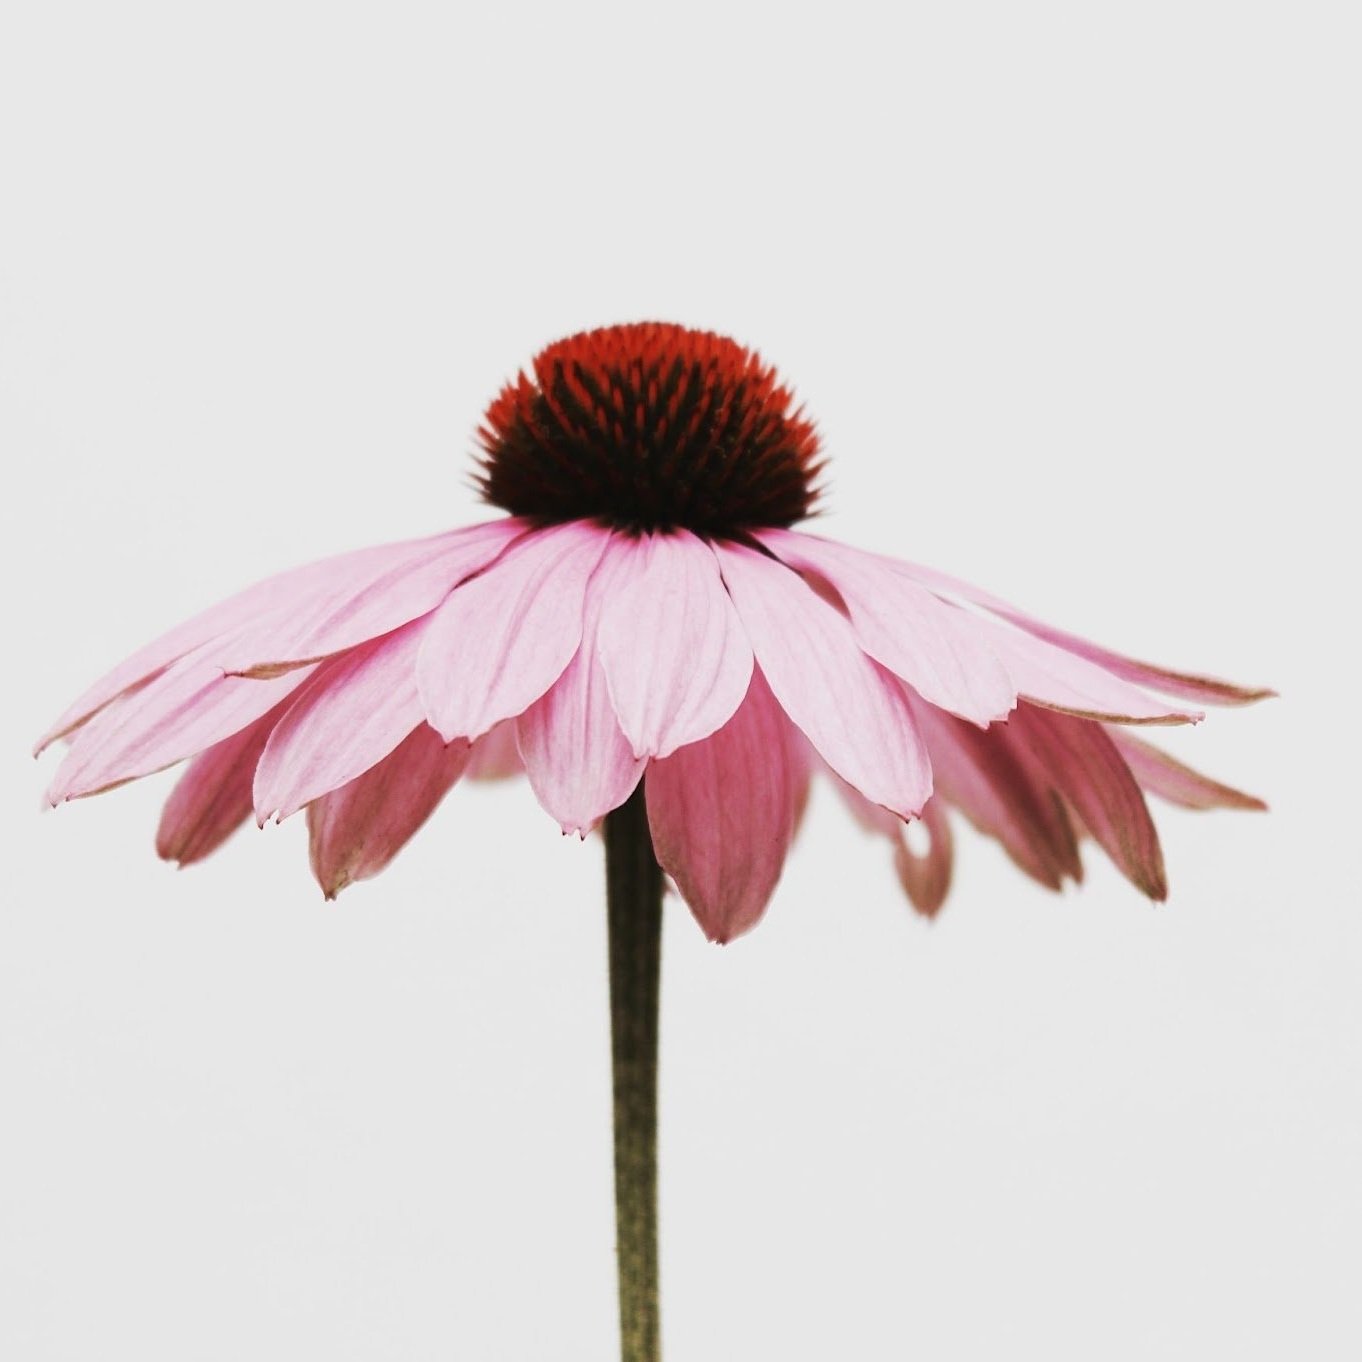
Photo courtesy of Kiki Siepel via Unsplash
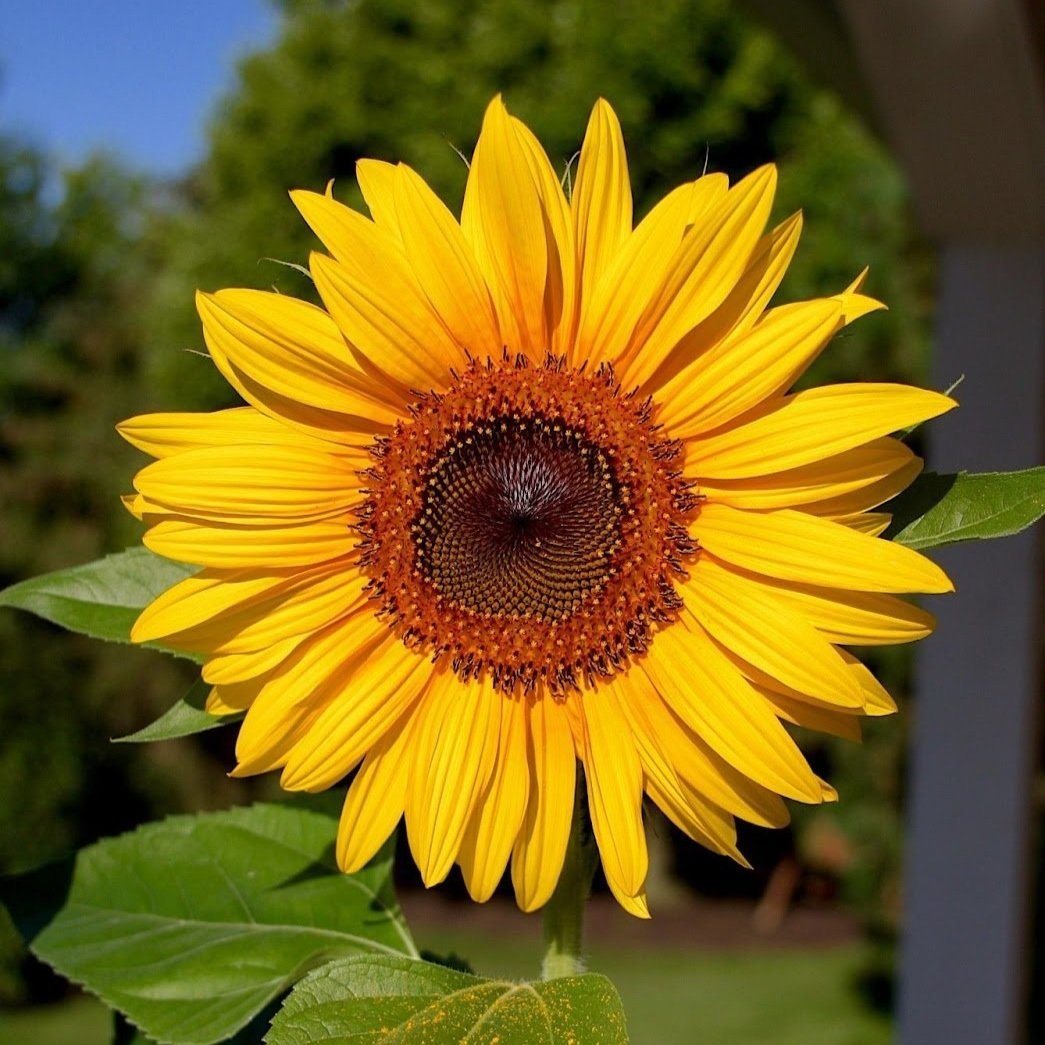
Photo courtesy of Melanie Kreutz via Unsplash

Photo courtesy of Alireza Shirvan via Unsplash
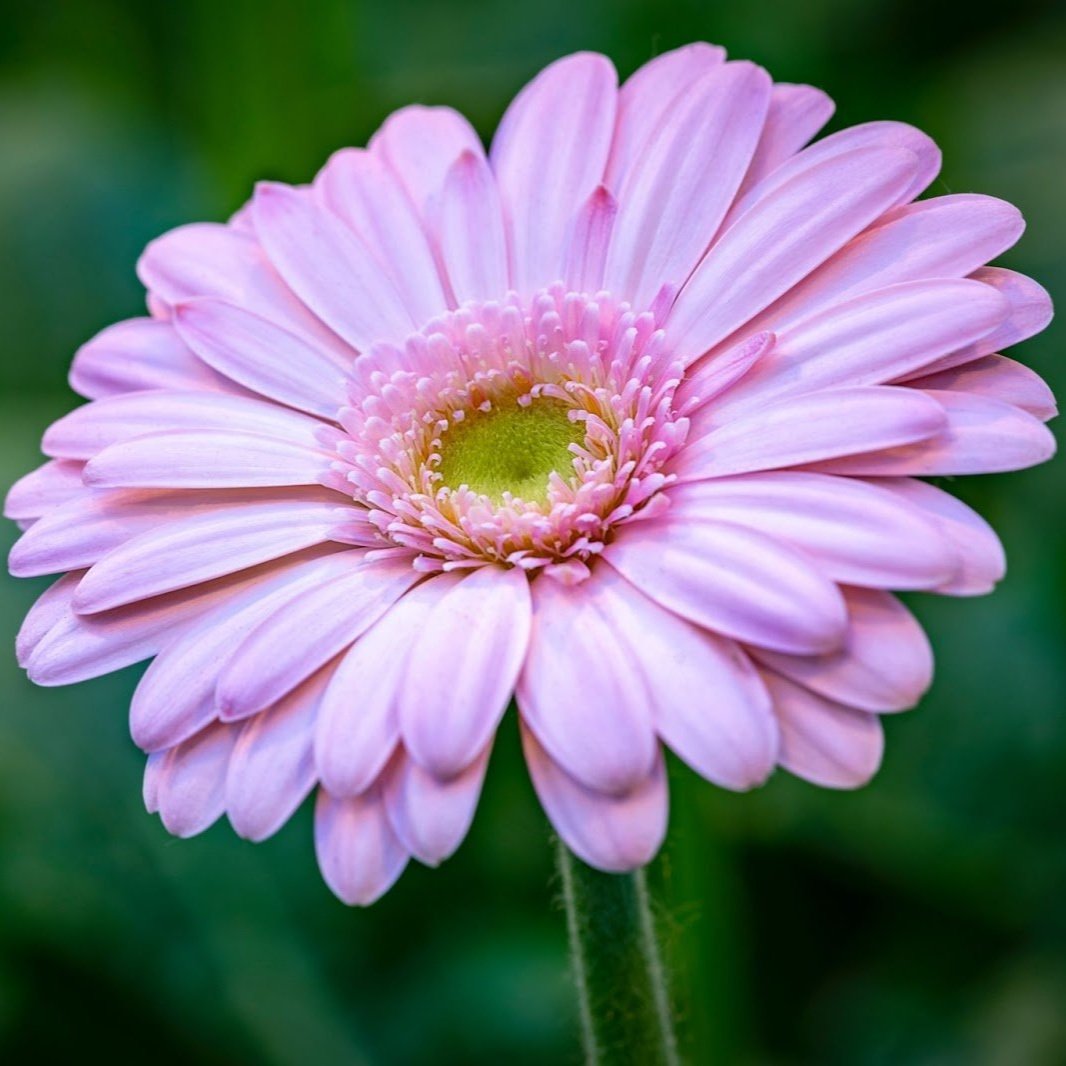
Photo courtesy of Patrick Kalkman via Unsplash
If you prefer to learn in video format, check out my class, Watercolor Botanicals, where I walk through two floral paintings step-by-step. In this class, you’ll learn how to paint a watercolor sunflower and how to paint a tropical hibiscus flower. And the best part? If you’re new to Skillshare you can get a free trial to Skillshare with this special link and watch this class along with thousands of others!


Now let’s dive into learning to paint a watercolor flower!
Overview:
You can use whatever watercolors you have on hand for this tutorial. Since I’m painting a sunflower, I’ll be using various yellow and brown watercolors to create some depth and visual interest in my painting. I’ll also be using round brushes in varying sizes. If you want to check out my full list of supply recommendations, you can find it here.

We’ll be painting our flower in three separate stages. We’ll start with one layer of petals, then add a second layer, and finish with painting the center of the flower.

This will allow the paint to dry in between each step and will result in a cool layered effect with the petals.

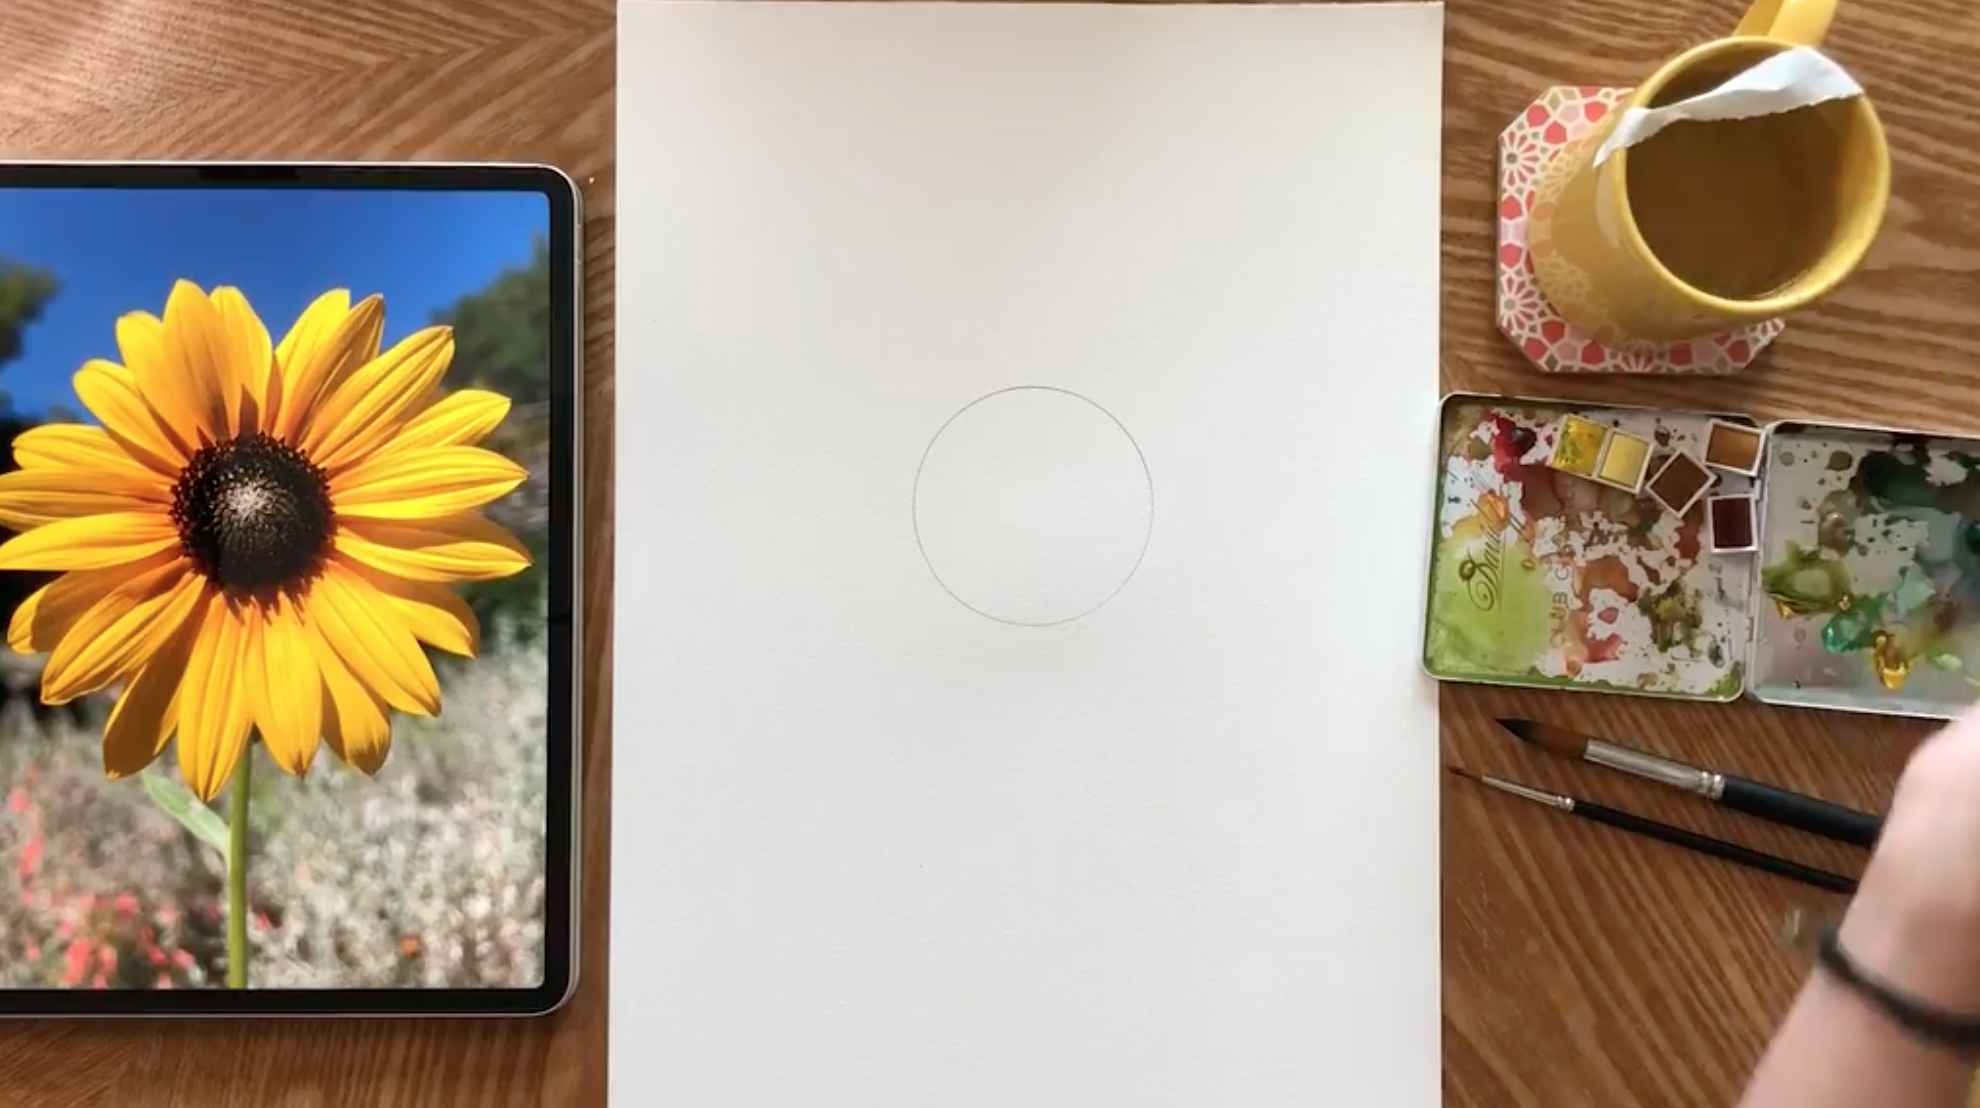
Sketch:
Since there are lots of layers to this flower, we won’t do a full sketch. It will be painted more free-form so that no pencil marks show through the watercolor petals. But it’s nice to have some kind of guide to start with.
So grab something that you can use to draw a perfect circle, and trace it with a pencil. This will give you a guide for where the center of the flower will be.
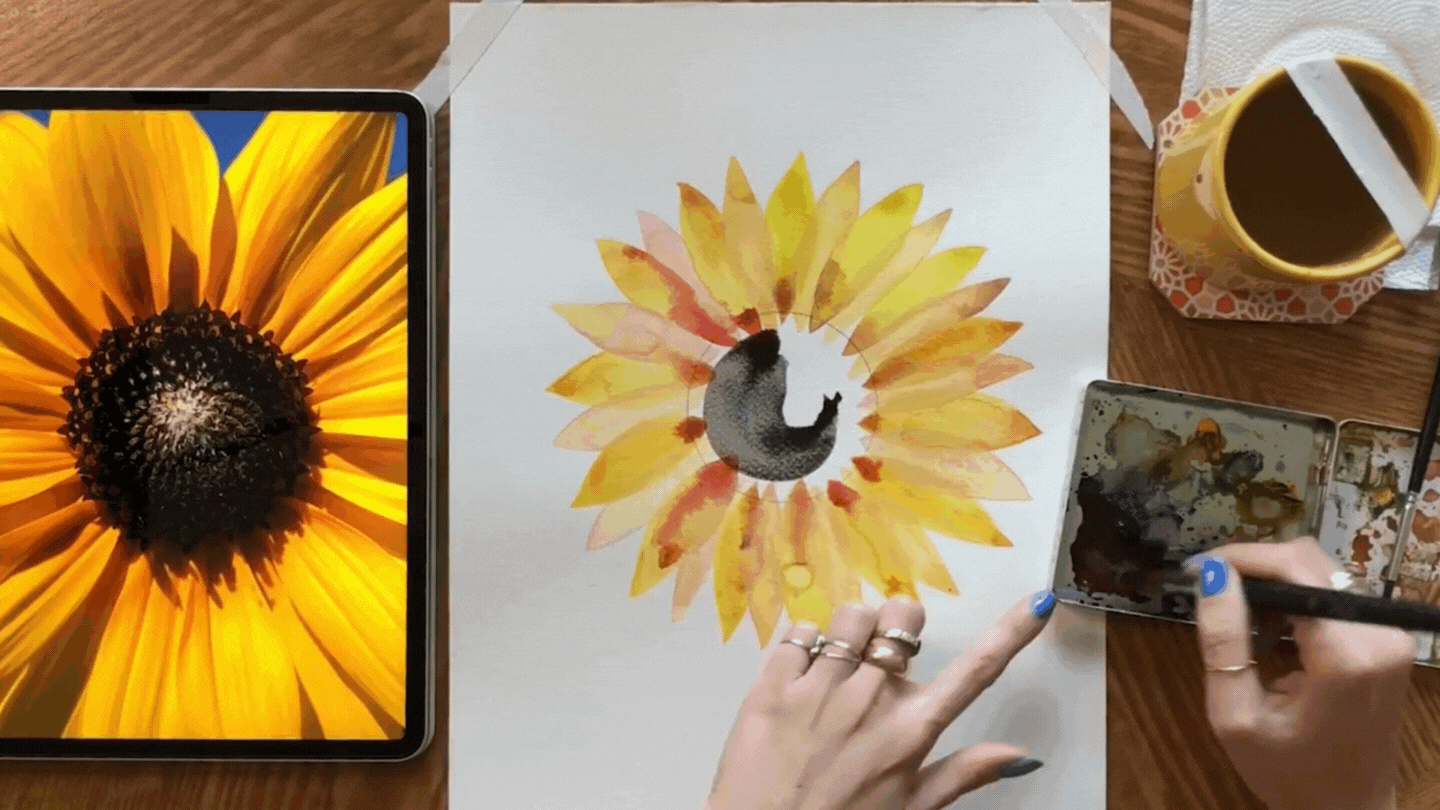
Step 1: First layer of petals
Now it’s time to start on the first layer of petals. Prep your palette with the more vibrant tones that you plan to work with. In my example, I’m using brighter and more vibrant yellows for the first layer and more opaque, pastel tones for the second layer. This will help distinguish the two layers of petals and make the layering effect more prominent.
Start with a large round brush (I’m using a size #16) and paint your petals so that the bottom overlaps ever so slightly with the circle you traced. I start with my large round brush and switch to a smaller detail brush to finish off the fine points at the ends of the petal.

To add some visual interest, you can grab a contrasting color to dip into the petal while it’s still wet. In my example, I’m taking some brown and red tones and dotting them on the tip of my petals to provide some more depth.
My favorite thing about watercolor is that mixing colors on the page like this results in some really cool effects once the paint is dry. And it’s a good exercise in letting go of perfection. You can’t really predict what the paint will do, but if you embrace it you’ll find that some really interesting things start happening in your paintings!

Now repeat these steps to finish the rest of the petals on layer one. Make sure that these petals are close to each other, but not touching. We want each of them to look distinct and not bleed together.
Note that anything that’s within the circle will be filled in with a dark brown for the center of the flower, so make sure that any cool color mixing effects you do are outside of that circle so they won’t get covered up.

Step 2: Second layer of petals
Before moving on to your second layer of petals, make sure the first layer is completely dry. If the first layer is still wet the paint will blend together and you’ll lose out on the layered petal effect.
For the second layer, I’m going to use a more opaque/pastel yellow so that it stands out against the first layer. An opaque pastel can be mixed by adding a little bit of white watercolor to your main color. I added some white to my yellow and also added a little bit of a pink pastel watercolor that I had on hand.
Once you have your opaque color mixed, you can start filling in the second layer. Add the second layer of petals in the white space between the first layer. And don’t be afraid to overlap! That’s the whole goal of this process!

Continue painting petals until you’ve completed the circle. When you’re done it should look something like this.

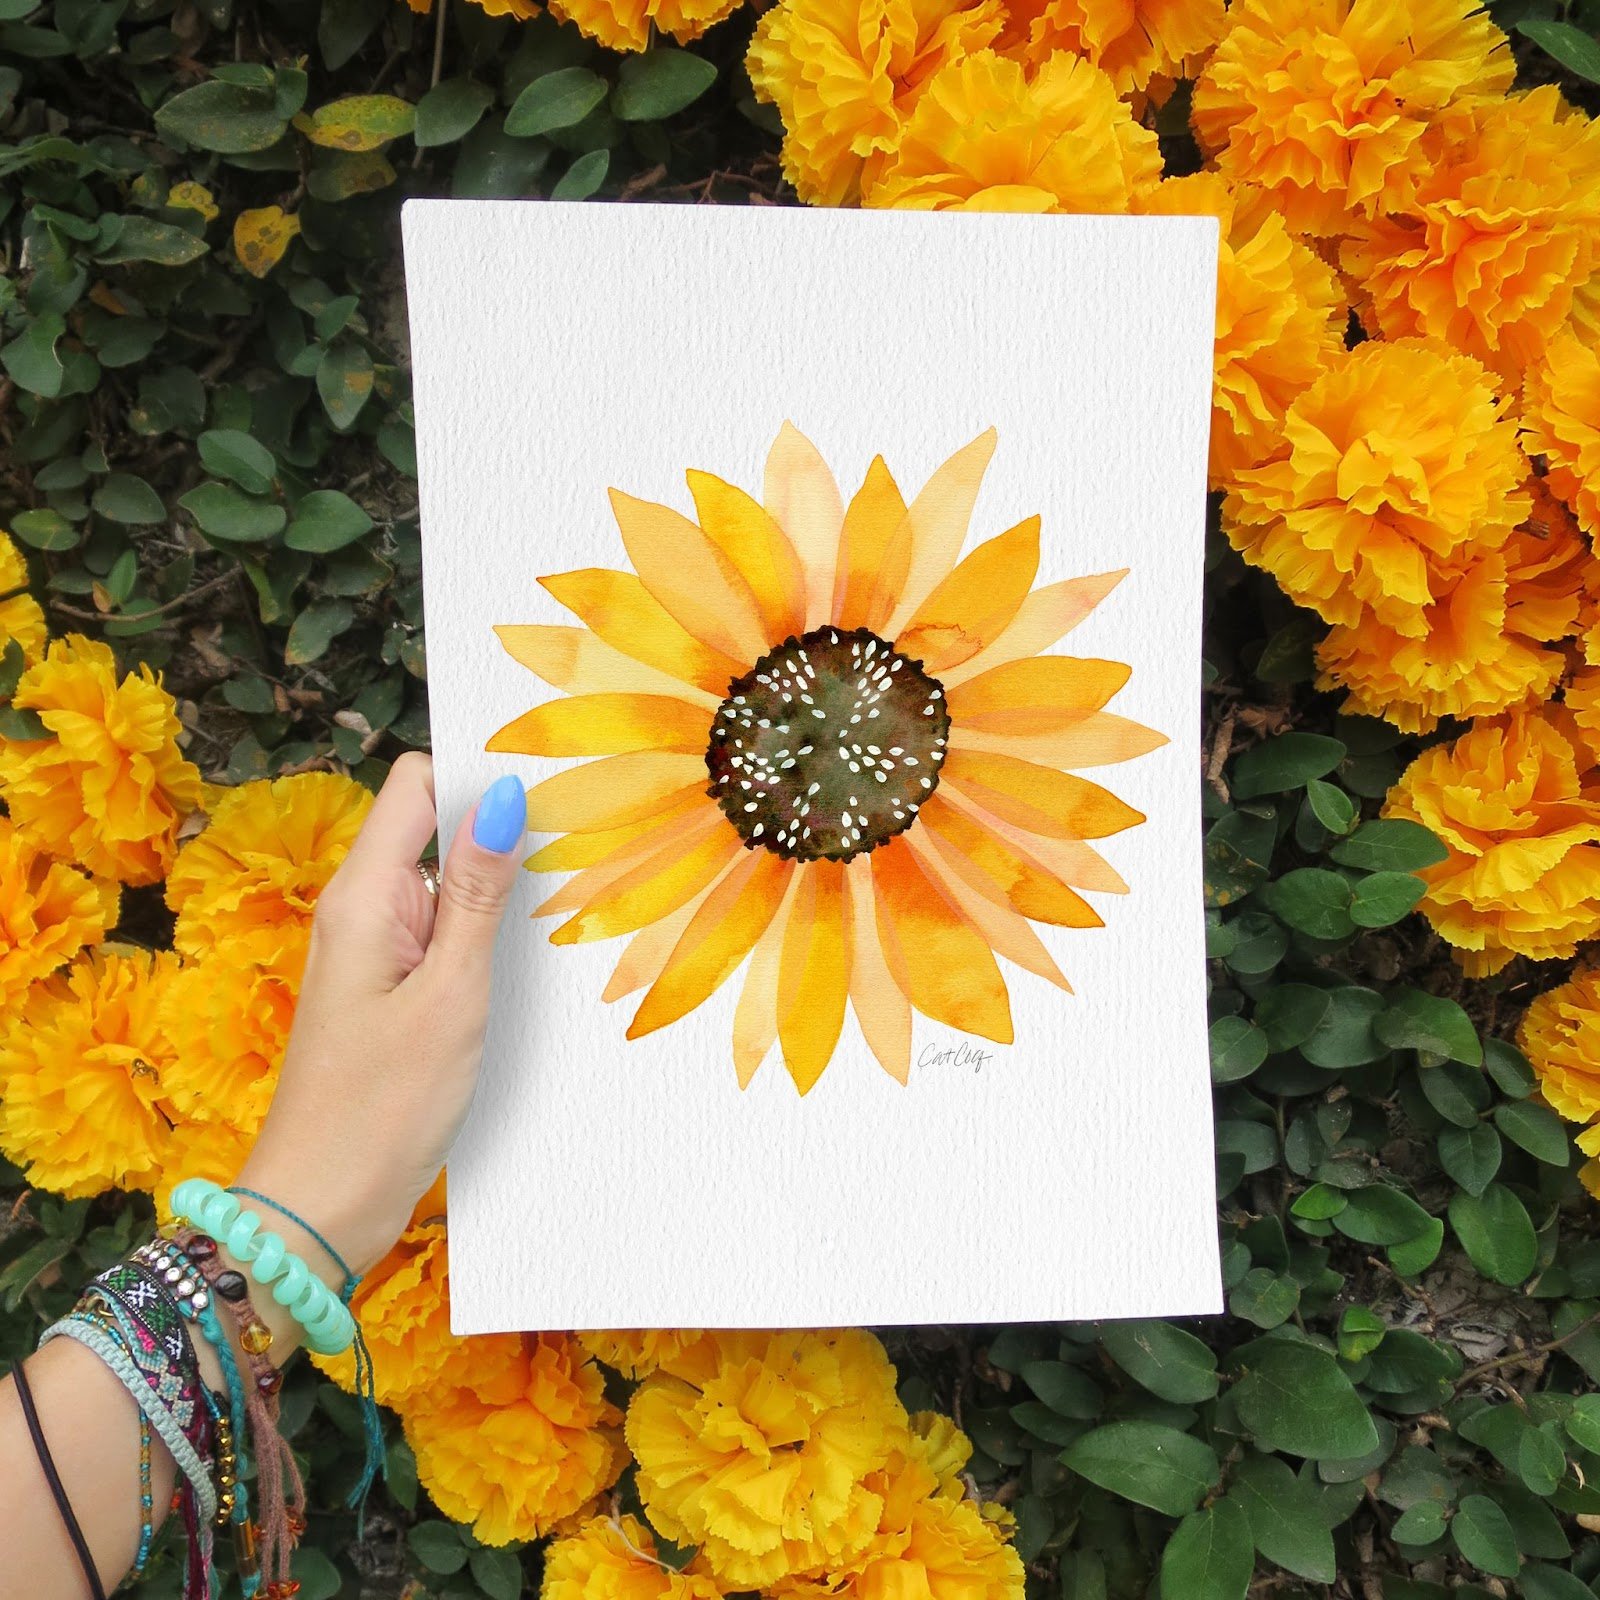
Step 3: Center of the flower
Next, we’ll paint the center of the flower. Just like the last step, you’ll want to make sure that your petals are 100% dry before moving on to this step. If you don’t wait til they dry, the dark center will blend with the petals which we don’t want.
While your petals are drying you can start mixing the paint for the center of the flower. In my reference photo, it's a dark brown/black color. But I never like to use black paint straight out of the tube. I prefer to use complementary colors to mix black. This results in a more tonal and interesting black hue. My favorite complementary colors to mix to make black are red and green, so that’s what I’ll be using in this tutorial.

Once your petals are completely dry, fill in the circle you drew overlapping with the tips of the petals where necessary.
In my reference photo, the center of the flower is textured and has a bumpy edge to it, so I’m going to add that in by loosely painting a squiggly line around the edge of the circle while the paint is still wet.

Step 4: Details
This next step is optional but can help your illustration really pop. The center of the flower looks pretty dark, so I want to break it up with some bright details. There are some textured details in the center of the flower in my reference photo, so I’m going to use heavy body white acrylic paint to represent that.

To create this effect, use a dry small round brush and apply light pressure to create the tip of the seed, and finish with heavy pressure to create the rounded part of the seed.

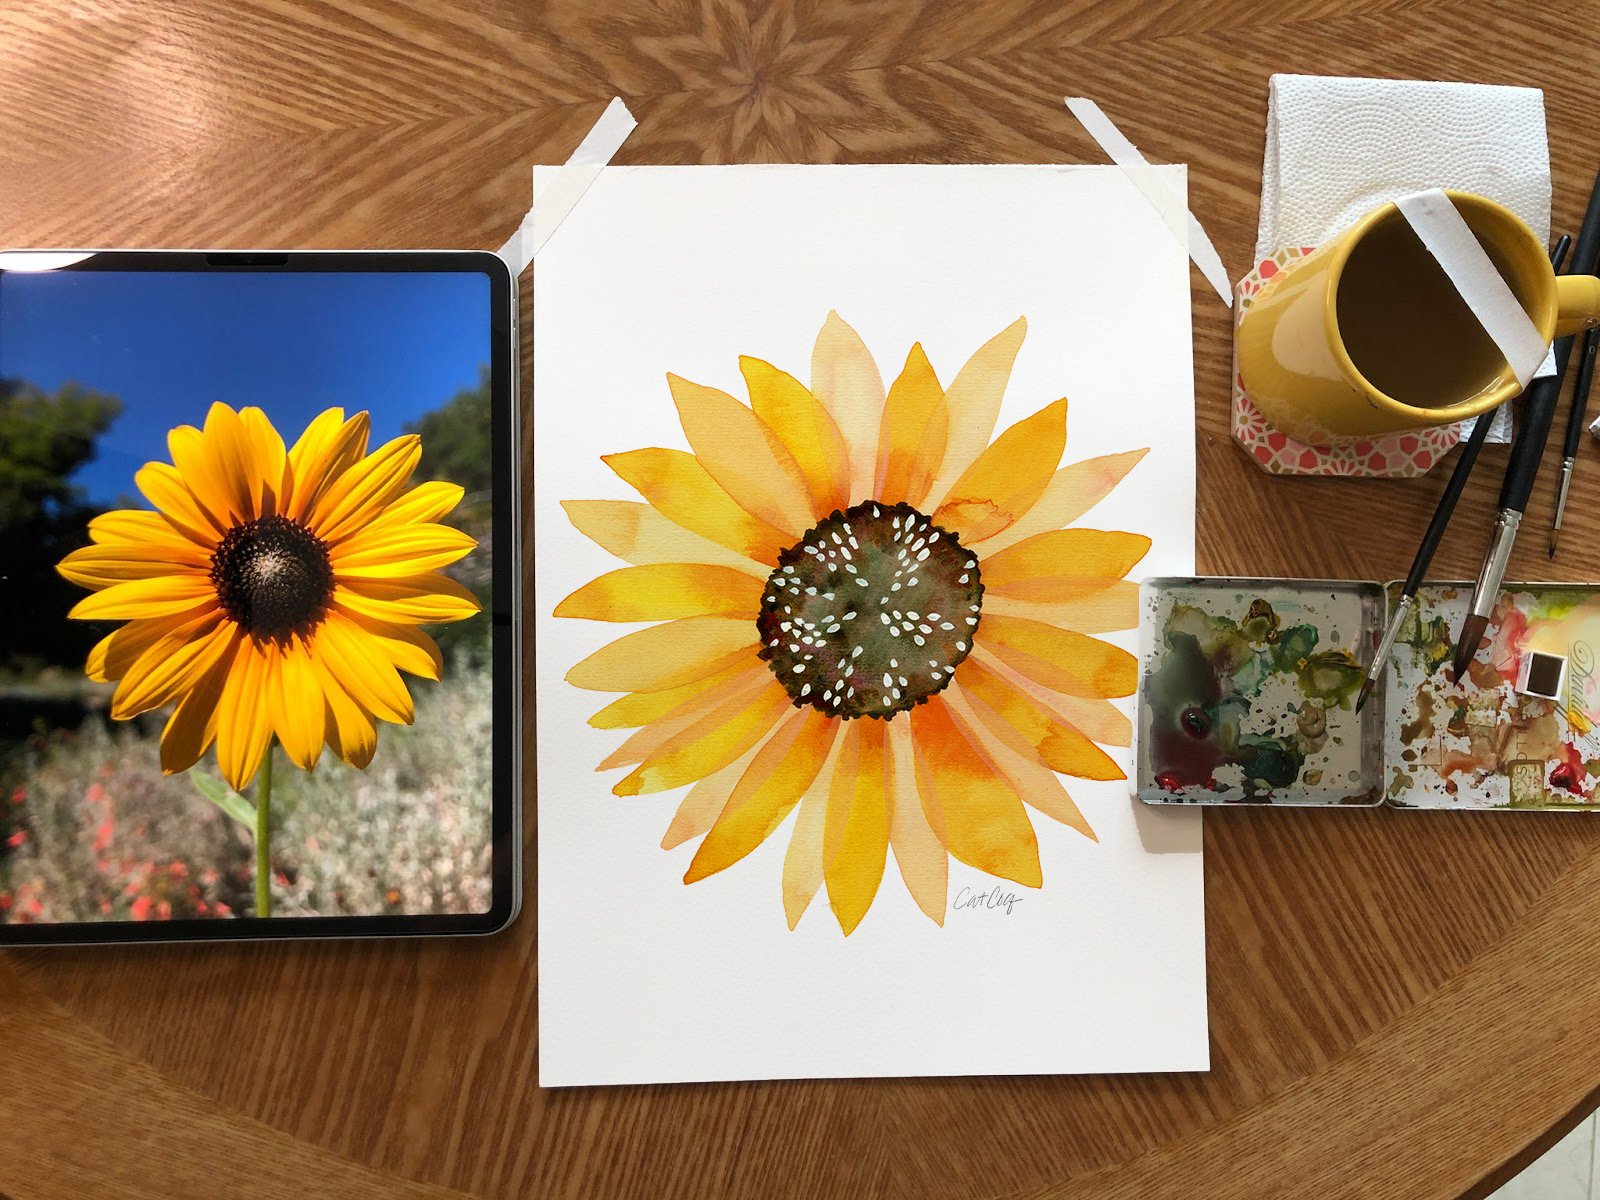
Once you’re done, your sunflower should look something like this!
I hope you’ve enjoyed this watercolor tutorial! I’d love to see your flowers! Share what you paint on Instagram and be sure to tag me @catcoq so I can like and comment on your artwork!
Want to learn to paint more watercolor botanicals?
I teach a full-length class where you'll learn to paint three other watercolor botanicals - a sunflower, hibiscus, a monstera leaf, and a succulent! And the best part? You can sign up for the class completely for free when you sign up for a free trial.

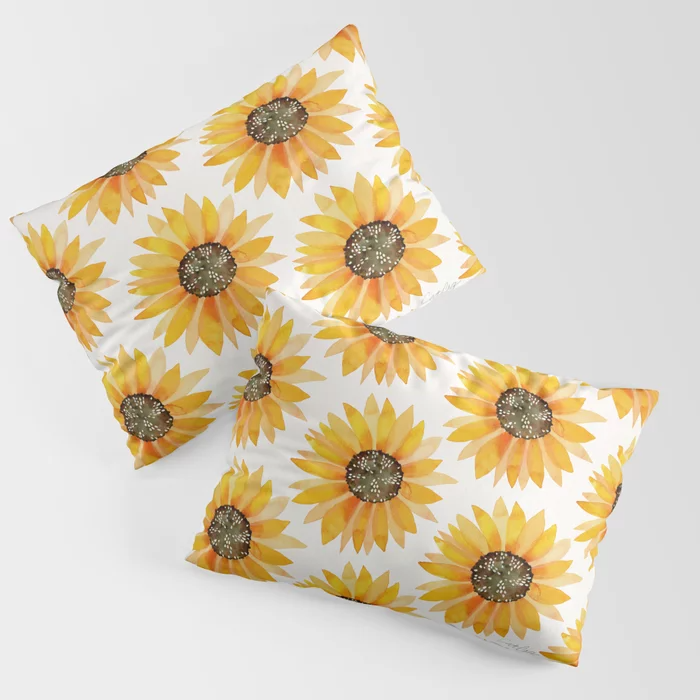
And if you really want to take it to the next level, turn your flower into a repeat pattern!
Learn how in my class, Hand Painted Patterns in Photoshop. You can enroll in either of these classes here when you sign up for a free trial with Skillshare!